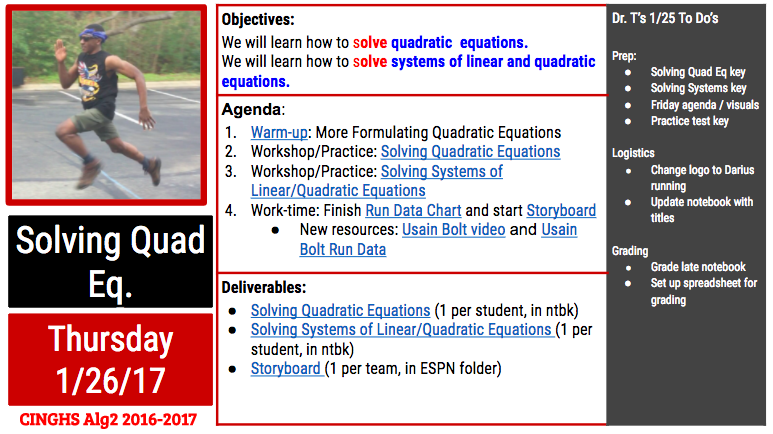
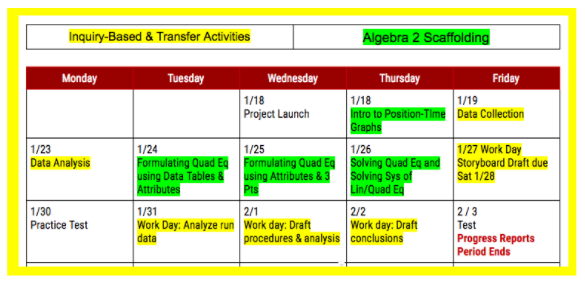
Week 2 of the Sport Science Video Project was jam-packed with content scaffolding on quadratic functions. It turns out that analyzing the motion of 100-m runners is not a simple task. To analyze and draw interesting conclusions from 100-m position-time data, one must know how to:
- formulate quadratic equations from data tables,
- solve quadratic equations
- solve systems of linear and quadratic equations
- interpret motion quantities embedded in linear and quadratic equations
In Week 2, we covered all these skills (and then some) and started applying them to the run data generated by students and by world class athletes (Usain Bolt).
Note: If you’d like to learn more about this project in its earlier or later phases, go here.
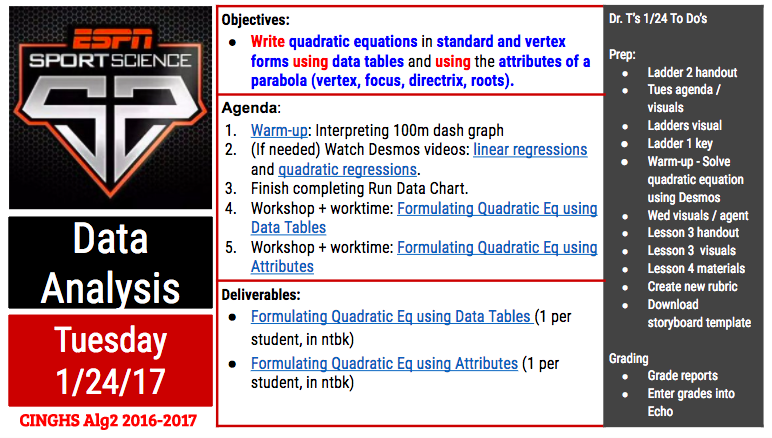
Week 2: Project Day 4: Data Analysis
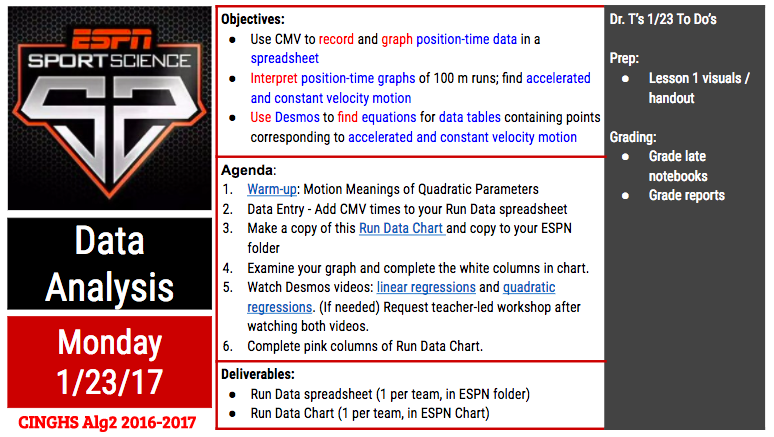
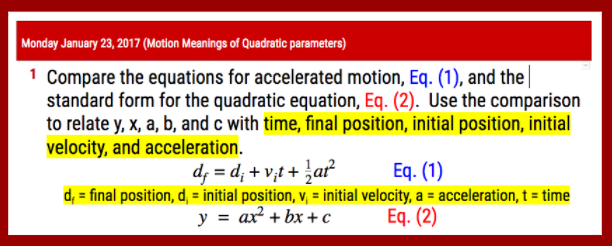 On Day 2, we started class with a warm-up that had students make connections between the coefficients in quadratic equations and motion quantities such as initial positions, initial velocities and accelerations.
 We went over the correct results so that students could start to interpret some of the quadratic functions that fit their run data.
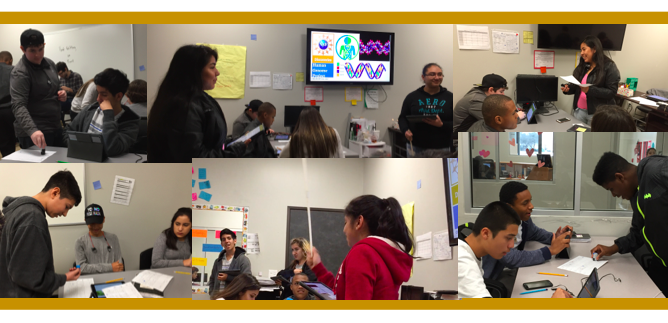
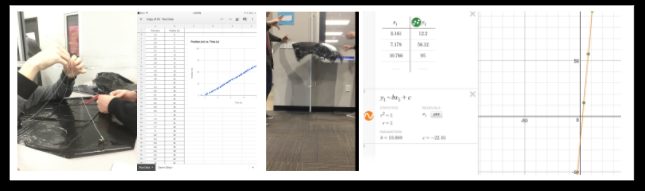
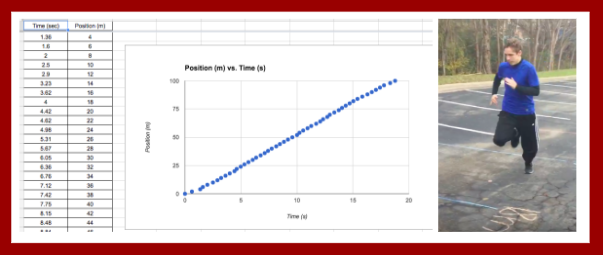
After this warm-up, the teams used Coach my Video to advance their running videos frame-by-frame and gather time data that went with each 2-m increment marker on the 100-meter track the students created on Day 3. They entered these times into a Google Sheet that automatically graphed their data on a position-time graph.
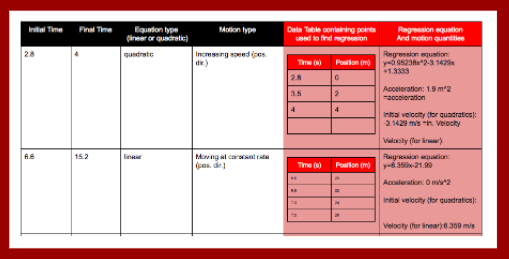
Then they used their position-time graph workshop notes to divide up their graph into sections that corresponded to different types of motion. They started using Desmos to find regression equations that fit their data. Their recorded their results in a graphic organizer called a Run Data Chart that they copied and stored in their project Google folder.
Later in the day, I prepared for the rest of the week by grading revised reports from the NERFallistics project and by preparing a workshop on formulating quadratic equations from data tables using technology.
Week 2: Project Day 5: Content Scaffolding
On Day 4 of the project, we learned several skills related to quadratic functions. I also got to check out if students responded well to a new method I had developed for displaying procedural skills.
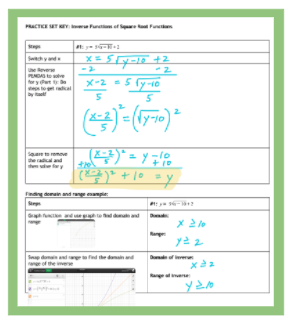
We started the class by going over how to use Desmos to find regression equations from points in a data table. We went over a handout with this step-by-step graphic organizer:
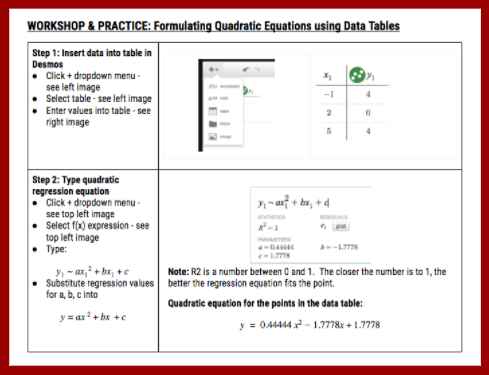
We went over the steps for a sample problem together. Then we set a work timer for 10 minutes to try these steps on 4 other regressions: 3 sample problems and 1 from their own run data sets.
This visual also shows my new method for displaying procedural skills: the left column outlines each step in the procedure and the right column demonstrates each step on a sample problem.
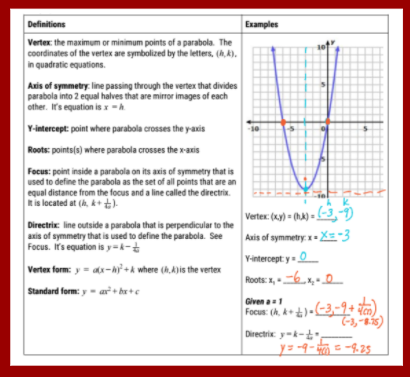 After they had a little time to practice the skill of using Desmos to find regression equations, we moved on to a new mini workshop on the attributes of quadratic functions. This mini-workshop covered things they already knew (vertex, axis of symmetry, y-intercept, x-intercepts) and introduced new attributes (focus, directrix). I gave them time to read through the definitions and then we discussed how to label the attributes on a sample quadratic function.
After we had reviewed the forms of quadratic equations and the attributes of quadratic functions, we started going over different ways to use the attributes of quadratic functions to find their equations.
 The first method we covered was how to find the quadratic equation for a function given its roots. I kept with my new format for presenting new procedures. The left column outlined each step to find the equation. On the space on the right, we applied each step to a sample problem. After we had gone over 1 sample problem, we set a 10 minute timer for the students to practice this new skill on a couple practice problems. While they practiced, I monitored their work and answered their questions.
 Then we learned how to find the quadratic equation of a function given its vertex and one other point. We learned how to find the equations in vertex and standard forms. We again worked through a sample problem together and then set aside work time to practice the skill on new problems. Some students requested that I email them the Notability file containing the workshop problems. Students always have the option to get a pdf-copy of workshop materials because I use Notability for a majority of workshops – especially ones where I demonstrate how to do various types of calculations.
After we went over this skill, we called it a day because everyone’s heads (mine included) were hurting by that point. What a productive day! I told the students that they were markedly smarter (at least within the specific domain of using quadratic functions) as a result of their hard work during that day.
Later in the day, I prepped for the remainder of the week by preparing workshops on formulating quadratic equations given any 3 points and on transforming equations from standard to vertex form (completing the square). I also figured out a way to analyze Usain Bolt’s data. I used his average stride length (2.44 m) to associate positions with all his footfalls. I then then paired those positions with times I gathered using Coach my Video. I also found a storyboard template that my students could use to plan their videos and I uploaded it to the students’ project briefcase.

Week 2: Project Day 6: More Content Scaffolding
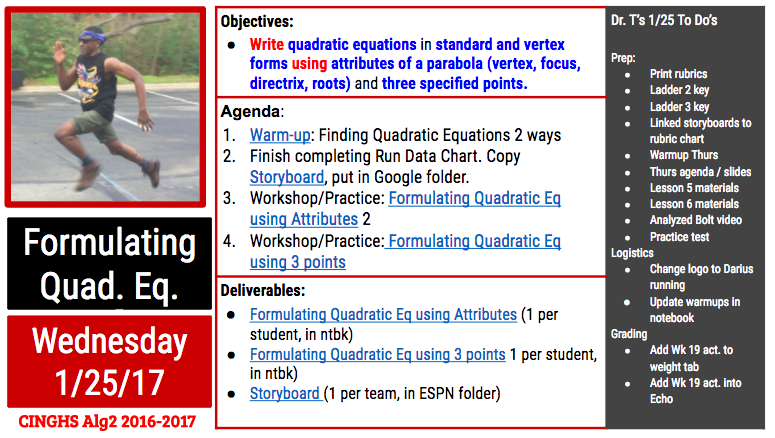
On Day 5, we learned 2 more ways to formulate quadratic equations: using a focus and directrix and using any 3 points. We kept with the format of modeling a practice problem with each new skill in a mini workshop following immediately with practice time to apply the skill to several practice problems.
 The mini workshop on formulating quadratic equations given a focus and directrix was the final workshop in a series dedicated to using the attributes of quadratic functions to formulate quadratic equations. While making my keys, I noticed how easy it was to mess up this process by substituting the focus (instead of the vertex) into the vertex form for the quadratic equation. I made a mental note to watch for students making this easy-to–make error and was able to catch it a couple times during the students’ practice work time.
 For the next workshop, I used the TI-emulator to show students how to use a scientific calculator to solve systems of linear equations. To find a quadratic equation from 3 points, one can substitute the 3 points into the standard form of a quadratic equation three times. The result will be a system of 3 linear equations. In an earlier project, students had learned how to use Gaussian elimination to find the solutions to systems of 3 linear equations. Using their prior knowledge, we discussed and demonstrated how to convert the 3 linear equations into an augmented matrix. Then I introduced them to a new matrix: the reduced row echelon matrix. I wrote a sample one on the whiteboard and asked them what was the (x,y,z) solution embedded in the matrix. The students used their prior knowledge of matrices to find the answer quickly and accurately and then they started to appreciate the power of this matrix. Then I demonstrated how to enter the augmented matrix into the TI-83 and then use it to find the reduced row echelon matrix. The students were able to do this with some coaching in very little time and then several got pretty emotional. I think they were remembering the trauma of using Gaussian elimination to solve systems by hand and comparing it to the ease of using the calculator to solve matrix equations. Some got really happy. Some were irritated and asked why I taught them Gaussian elimination instead of this method earlier. I replied because Gaussian elimination is written into the Texas TEKS so I am professionally bound to teach it to you. We ended the class period on this high / sour note.
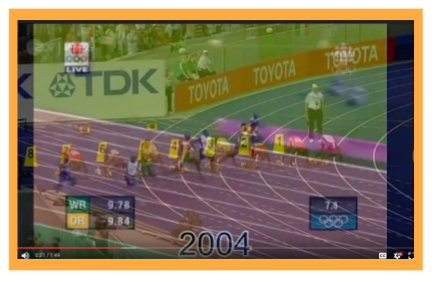
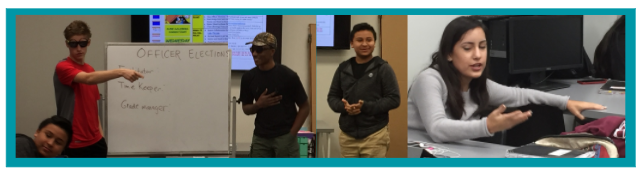
Later in the day, one student requested that I change the project logo from the ESPN Sports Science logo to an image of one of the Algebra 2 students running during our data collection day. I got permission from the running student to make this change and then made it official.
I prepared for the remainder of the week by preparing lessons on solving quadratic equations and solving systems of quadratic and linear equations. I also prepared a Practice Test on quadratic functions for the following Monday. I updated the warm-ups in the class version of the Algebra 2 notebook. I also started setting up my grade sheet and Echo for the tasks I would grade later this week.
Week 2: Project Day 7: Content Scaffolding (Finale)
Day 7 of the project was the final day for introducing new content skills. The remainder of the workshops in the project would be dedicated to fine tuning those skills to apply them to products. Prior to introducing students to the quadratic formula, we introduced the discriminant: how to calculate it and how to interpret it.
 We used this visual during the workshop to go over how to calculate the discriminant and then how to interpret its value. After this mini-workshop, students had 10 minutes to practice calculating and interpreting discriminants before we moved on to a mini workshop on the quadratic formulas.
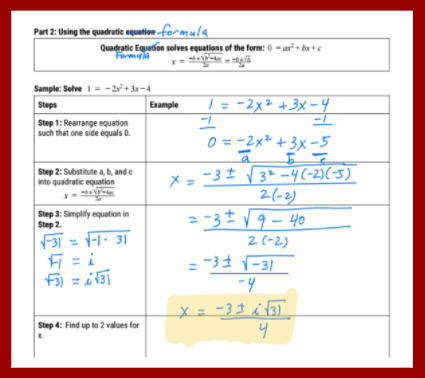 For our mini workshop on using the quadratic formula to solve quadratic equations, I intentionally chose a sample problem with 2 complex roots. This gave me an opportunity to introduce complex numbers and how to use these to find the solutions of quadratic equations with negative discriminants. When we got to the step of simplifying the square root part of the equation, I let them plug in the expression into the calculator as is and let them see the errors that the calculator generates. Then we talked about how to use “i” to resolve this dilemma. Several of the students had seen “i” before but had never been formally introduced to it. After we discussed this sample problem, the students asked for 15 minutes of practice time to work through several practice problems. The practice set included problems with 2 real roots, 1 real root, and 2 complex roots.
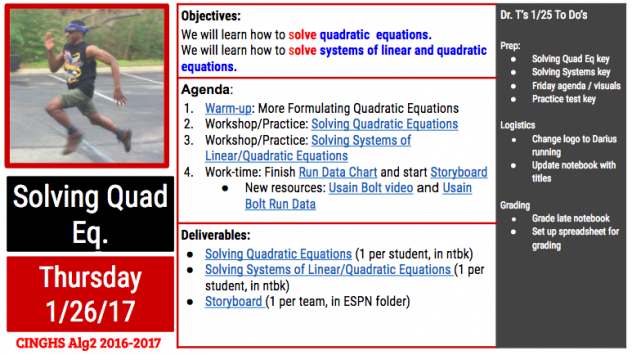
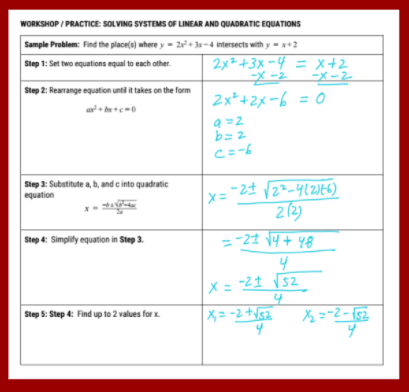 In the final workshop of the class period, we went over how to use the quadratic formula to solve systems of linear and quadratic equations. We practiced setting the equations equal to each other and rearranging the resulting equation into a form that could be resolved by the quadratic formula. In the remainder of the class period, they practiced using this skill to solve several systems of equations (3 given by me and 1 using equations they had found from their analysis of their run data).
Later in the day, I finished making my Quadratic practice set keys. Any student can get access to a key on a practice set by showing me their work on the practice set. As long as they try all problems, I share them on a Google pdf copy of key. Many students asks for the keys and many have learned to correct their work in different color pencil using the key so that they know what they need to think about to improve their skills. I also completed my Practice Test key to prepare for Monday’s class.
Week 2: Project Day 8: Full Work Day
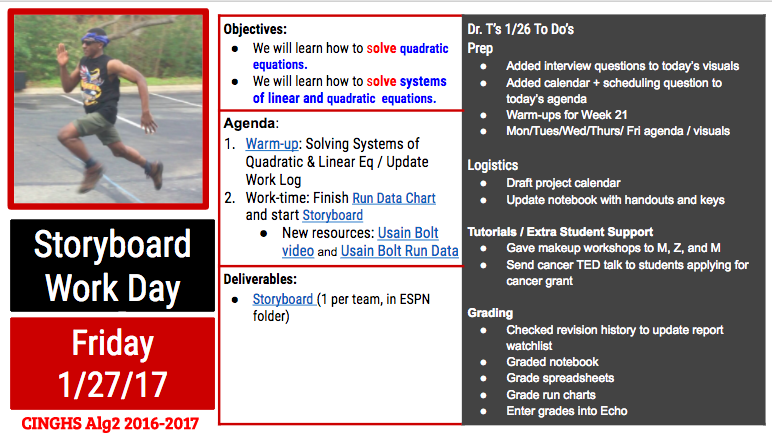
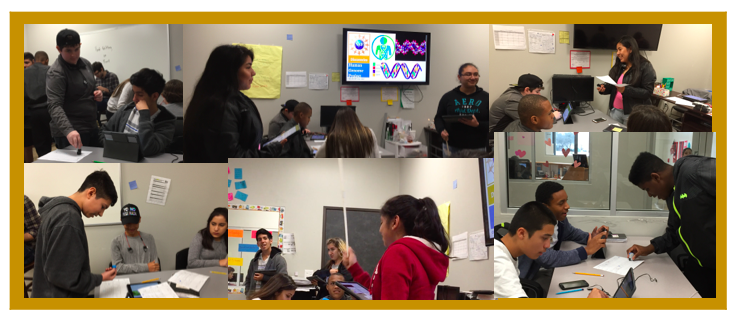
After a dense week of content scaffolding, we ended the week with a full work day. The students used this day to apply the skills they had learned that week to the analysis of their student run data and of Usain Bolt’s run data. They worked on recording their results in a Run DataChart and in a storyboard for their sports science video. Some students also used this time to finish and ask for help on practice sets from earlier this week. Aside from helping them with the warm-up and from answering their questions, I was pretty hands off on this day. I kept my spidey senses alert to hear what difficulties students were running into while analyzing their data and preparing their storyboards. I took note of these things to anticipate the types of workshops students might need next week.
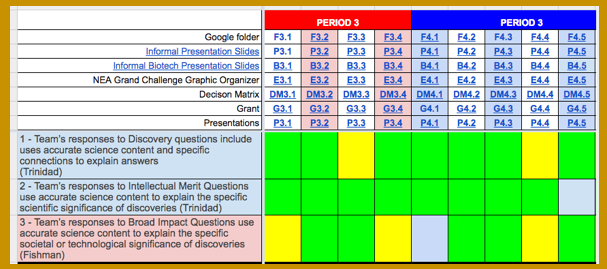
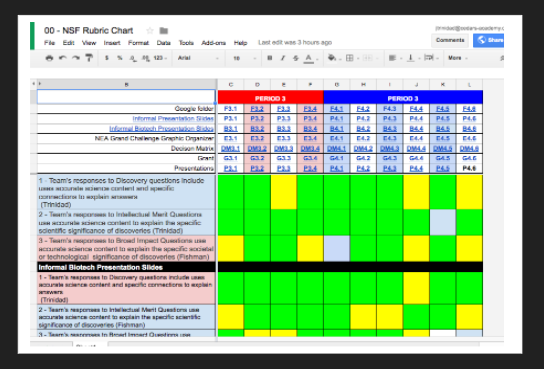
 This visual shows a sample slide in a student storyboard and the rubric chart I use to show feedback feedback on their work: green squares = full credit and yellow squares = partial credit. I add comments inside their products that describe how to convert yellow rubric chart squares to green ones.
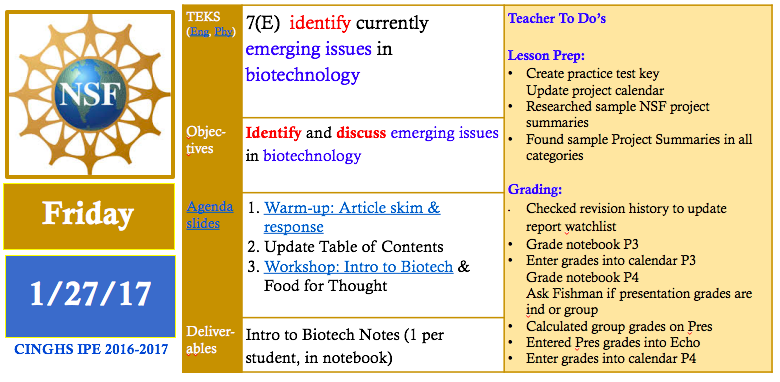
Later in that day, I prepped for the following week by preparing next week’s warm-ups, agendas, and agenda / activity visuals. I also got the class notebook up to date with this week’s activity sheets. Then I graded the students’ notebook activity sheets for this week and entered those grades into Echo.
Week 2 Weekend: Week 3 Prep
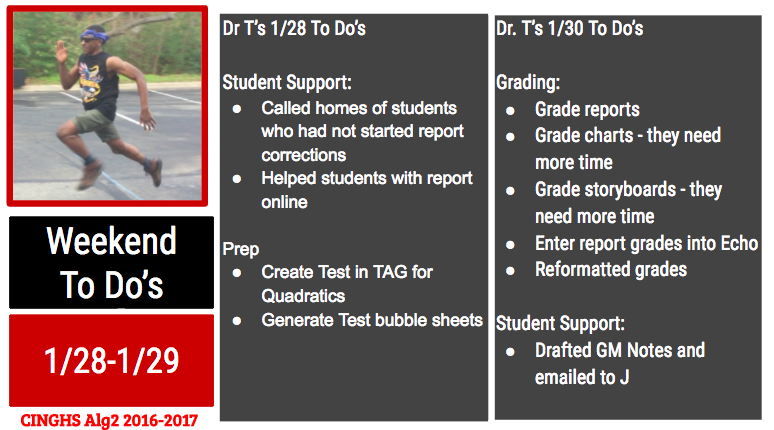
Saturday at midnight was the final deadline for NERFallistics report corrections. Because this grade was so high stakes, I supported the students in 2 ways: parent phone calls and virtual office hours. Saturday morning I called the parents of all students who had not started report corrections because it was the final day in a 2-week correction period. During the late afternoon and evening, I made myself available online for students with report corrections. I ended up using the messaging feature on Google docs to support students with many questions about their report corrections.
Also on Saturday, I used our test software (DMAC) to create the end-of-project test. We are required to use DMAC for two assessments per six weeks. I typically use DMAC for my end-of-project tests and my trimester exams.
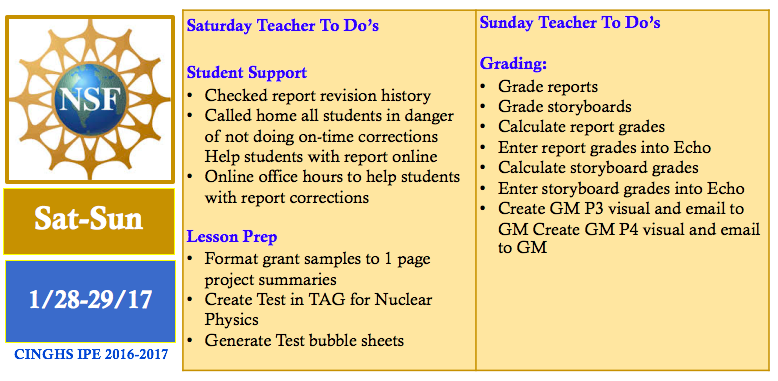
On Sunday, I graded the students storyboard and run charts and realized they needed more time and support so I extended the deadlines on these and modified some of the upcoming warm-ups to cover issues that I was seeing in their products. I noticed they were struggling to associate the numbers in their spreadsheets and in their regressions with meaningful running statistics. I created a couple warm-ups to make those connections more explicit.
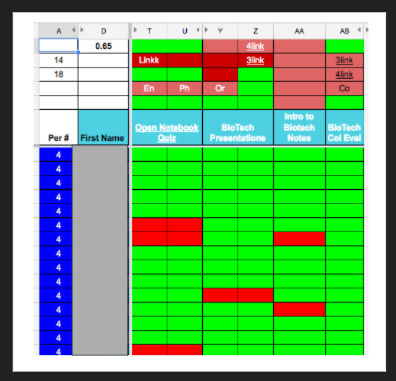
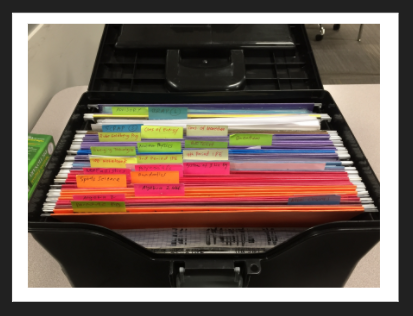
After finalizing my grades, I created the Week 20 Task Completion chart. The image below shows the task completion chart (with student names boxed out). Red boxes denote missing assignments. The grade manager uses this visual to provide face-to-face and emailed reminders to students to turn in missing assignments.


 At 1 pm, we met our main hostess, Tánia, and our driver in the hotel lobby. They drove us to a sky resort within the Mahalangur Range. This mountain range is famous due to Mount Everest. On the way to the resort, we learned a little about Tánia’s school. It is a private secondary pilot STEM school that will serve approximately 100 students when it opens. When we arrived at the resort, we look a sky lift up the mountain and met with our translators, Arái and Ardák, at a nice restaurant decorated like a wooden hunter’s lodge.


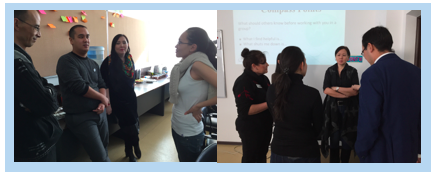


 Then they updated their Knows and Need-to-Knows to include their new learnings and new questions after one day of training. We pointed out that the items labeled with a red paperclip symbol were items we hoped to get to in the Ideation session. Several participants indicated that they had learned things related to these items by crossing these out and updating their Knows lists with related items. Some participants came to us with follow-up questions relating to the red-paperclip items that were only lightly touched during the Ideation session. I liked how the paper clips held me and Stephanie accountable to our session goals. They also helped us to make early course corrections when participants helped us realize when we hadn’t communicated as clearly as we had intended.